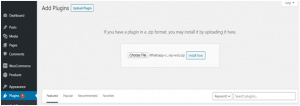
1) Upload plugin:
In your WordPress dashboard, go to Menu Plugins > Add new > Upload Plugin > Upload the plugin zip file you downloaded from CodeCanyon page > Activate it
2) Configure the plugin:
In this article, we will go through three sections:
- Add New Account
- Floating Widget
- Settings
1. Add New Account
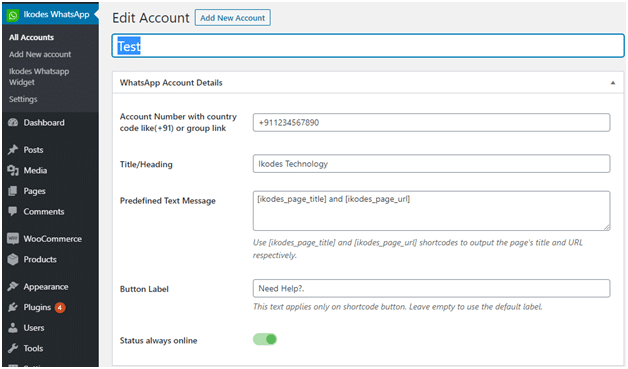
1. Account Name
The name of a team member.
2. Account Number or Group Chat URL
3. Title
Their job title, for example, Customer Success Associate, Technical Support Engineer, Sales Associate, etc. This title is displayed in the floating widget.
4. Predefined Text
This is the text message which is auto generated when your customer first chat with you.
![]()
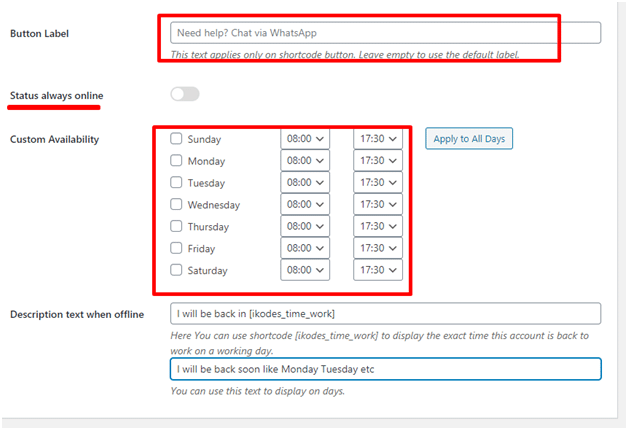
5. Button Label
The greeting text of their shortcode button, for example, Need help? Chat with me on WhatsApp.

6. Time Availability
Working hours of the staff
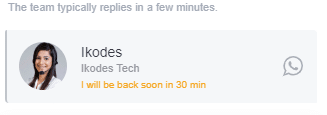
7. Description Text When Offline (1)
On business days and before start times, this text is displayed as a countdown timer, for example, I will be back in hour(s).
8. Description Text When Offline (2)
This text is displayed when it’s after working hours of business days and on days off, for example, I will be back on Mon – Fri, 08:00 am – 07:30 pm.

9. Button Style
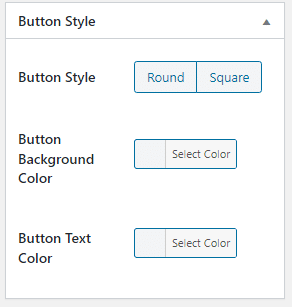
Here you can customize how the button looks. By default, in online status, the button has square borders, background color of green, and text color of white.
10. Avatar
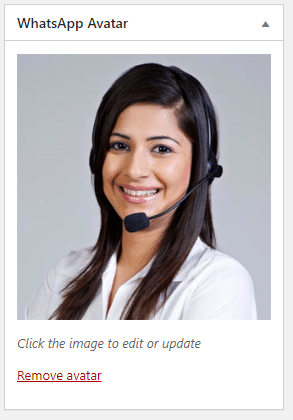
Here you can set a profile picture for the account.
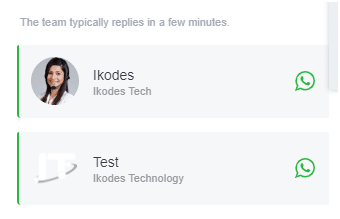
2. Floating Widget
1. Selected Accounts
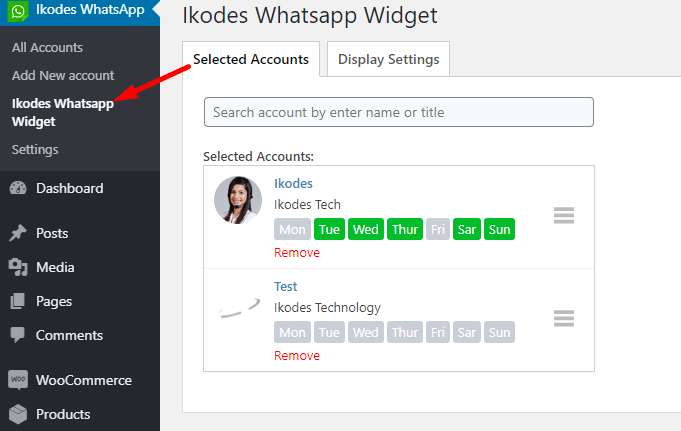
Click on the search bar, and all accounts will be listed there. Click to select an account.
2. Display Settings
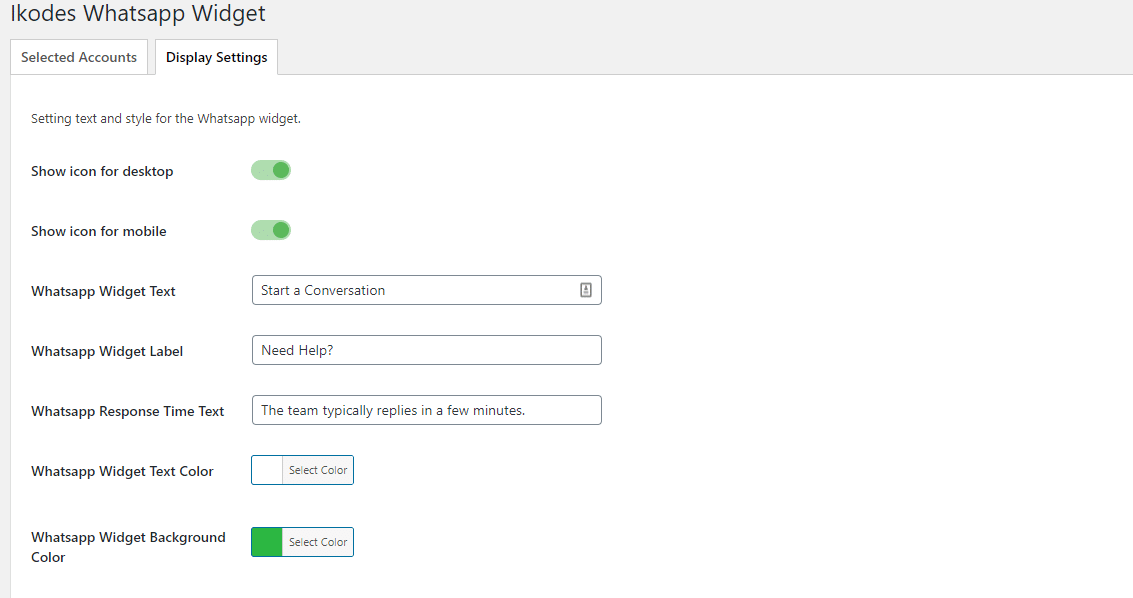
You can customize attributes of the floating widget here, including title, subtitle, colors, and position.
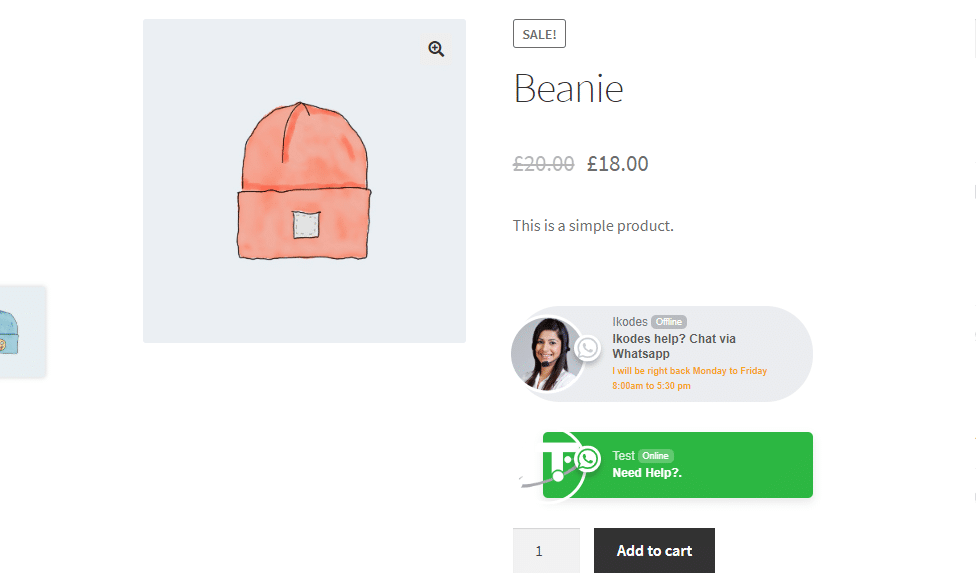
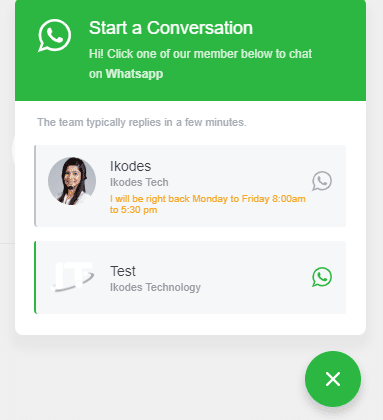
This is how it looks on the front end:
3. Settings
1. Settings
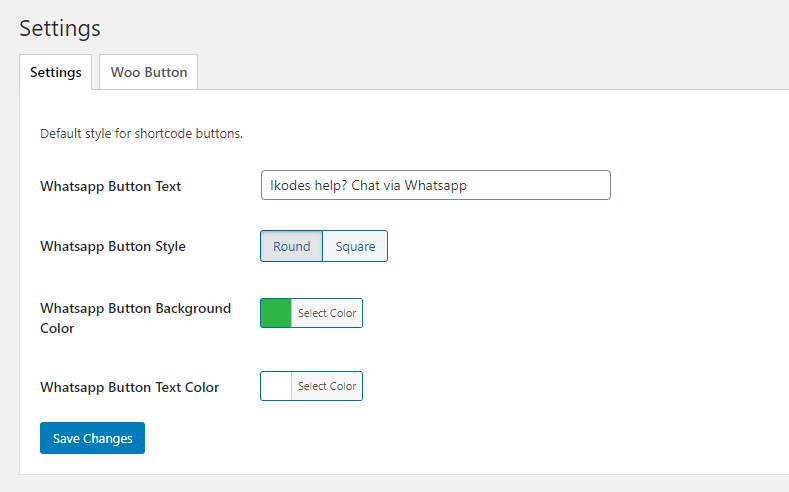
Here you can set default settings for the shortcode buttons. However, these settings will be overridden by “Button Style” settings in each account profile.
2. WooCommerce Button
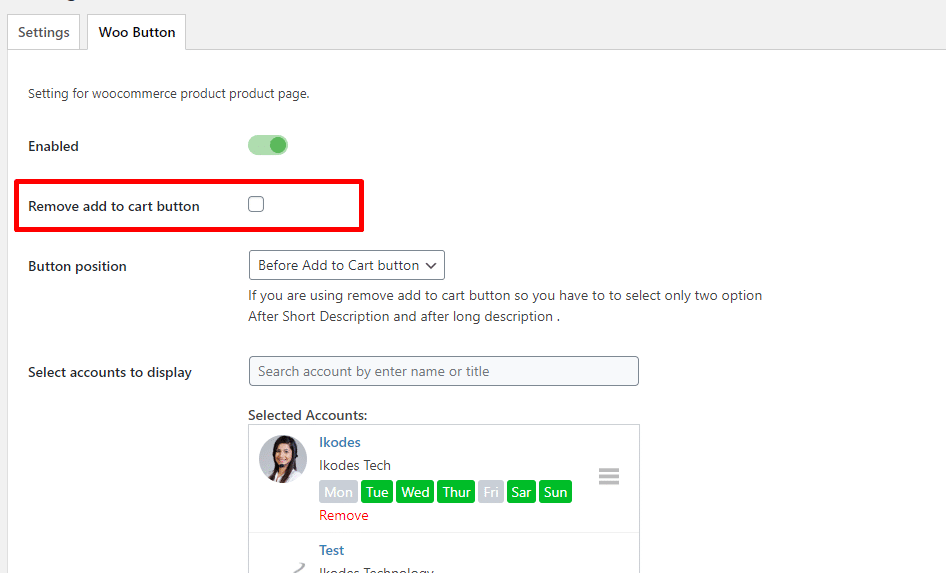
This option is for adding the shortcode button onto WooCommerce product pages.